
Rather than venturing into sourdough, I've been spending a portion of the pandemic exploring baking English muffins. I had never attempted an English muffin before. And as I pulled down various cookbooks, I soon realized the many variations in ingredients and technique from multiple qualify sources, each purporting to offer the best English muffins. It seemed like the only way to resolve the situation was to try as many of them as possible.
I had originally set out to try 11 separate recipes. I wound up
trying only 7, with 2 clear top contenders and the rest falling to the
wayside. The most common errors were in yielding bland muffins with an
ok texture, or, recipes that produced adequate flavor but consisted of a
roll-like texture.
The entire testing process was extremely informative on best tips
in making muffins overall, and my final recommendation (below) is
actually a modified version of the original online source. The modified
version incorporates several "best tips" I learned along the way from
other sources.


The top 2 versions vary slightly in key aspects. One is more structural and, in my opinion, has a crisper, toastier interior which I prefer. But, it comes out as my second choice because of inconvenience:
- I have to stand on my feet twice as long as the version that wins this Taste Test.
- I have to use muffin rings. This is not a big deal, but I currently have only 5 rings, which means I can't make them all in a single batch, which means I have to wait for the first batch to cook, remove the rings, wash them, and prep them again. All of which means I have to stand on my feet even longer.
Could I buy more rings? Absolutely. Or, for a small sacrifice in texture, I could go with the recipe that gives me more of my time back and doesn't require an additional kitchen gadget. You may choose differently, so both of the top 2 version (each modified with my recommendations) are included in this post.

I hope that my past weeks of exploring the variation in muffins helps give you some confidence to make these at home! We're nearly in a natural rhythm now of assembling starter a few days before we know the current batch will run out.

Lessons Learned about English Muffins
- Fork-split matters! If you use a knife to cut open your English muffin, the crumb is too smooth and butter runs off, almost like the surface of the muffin has been laminated. If you cut it open with a fork, however, the surface is rough and the butter pools beautiful.
- Use an electric skillet, especially if you have any skepticism about your stove holding a consistent temperature. I bought this portable griddle and keep it at a setting just above the 4 mark.

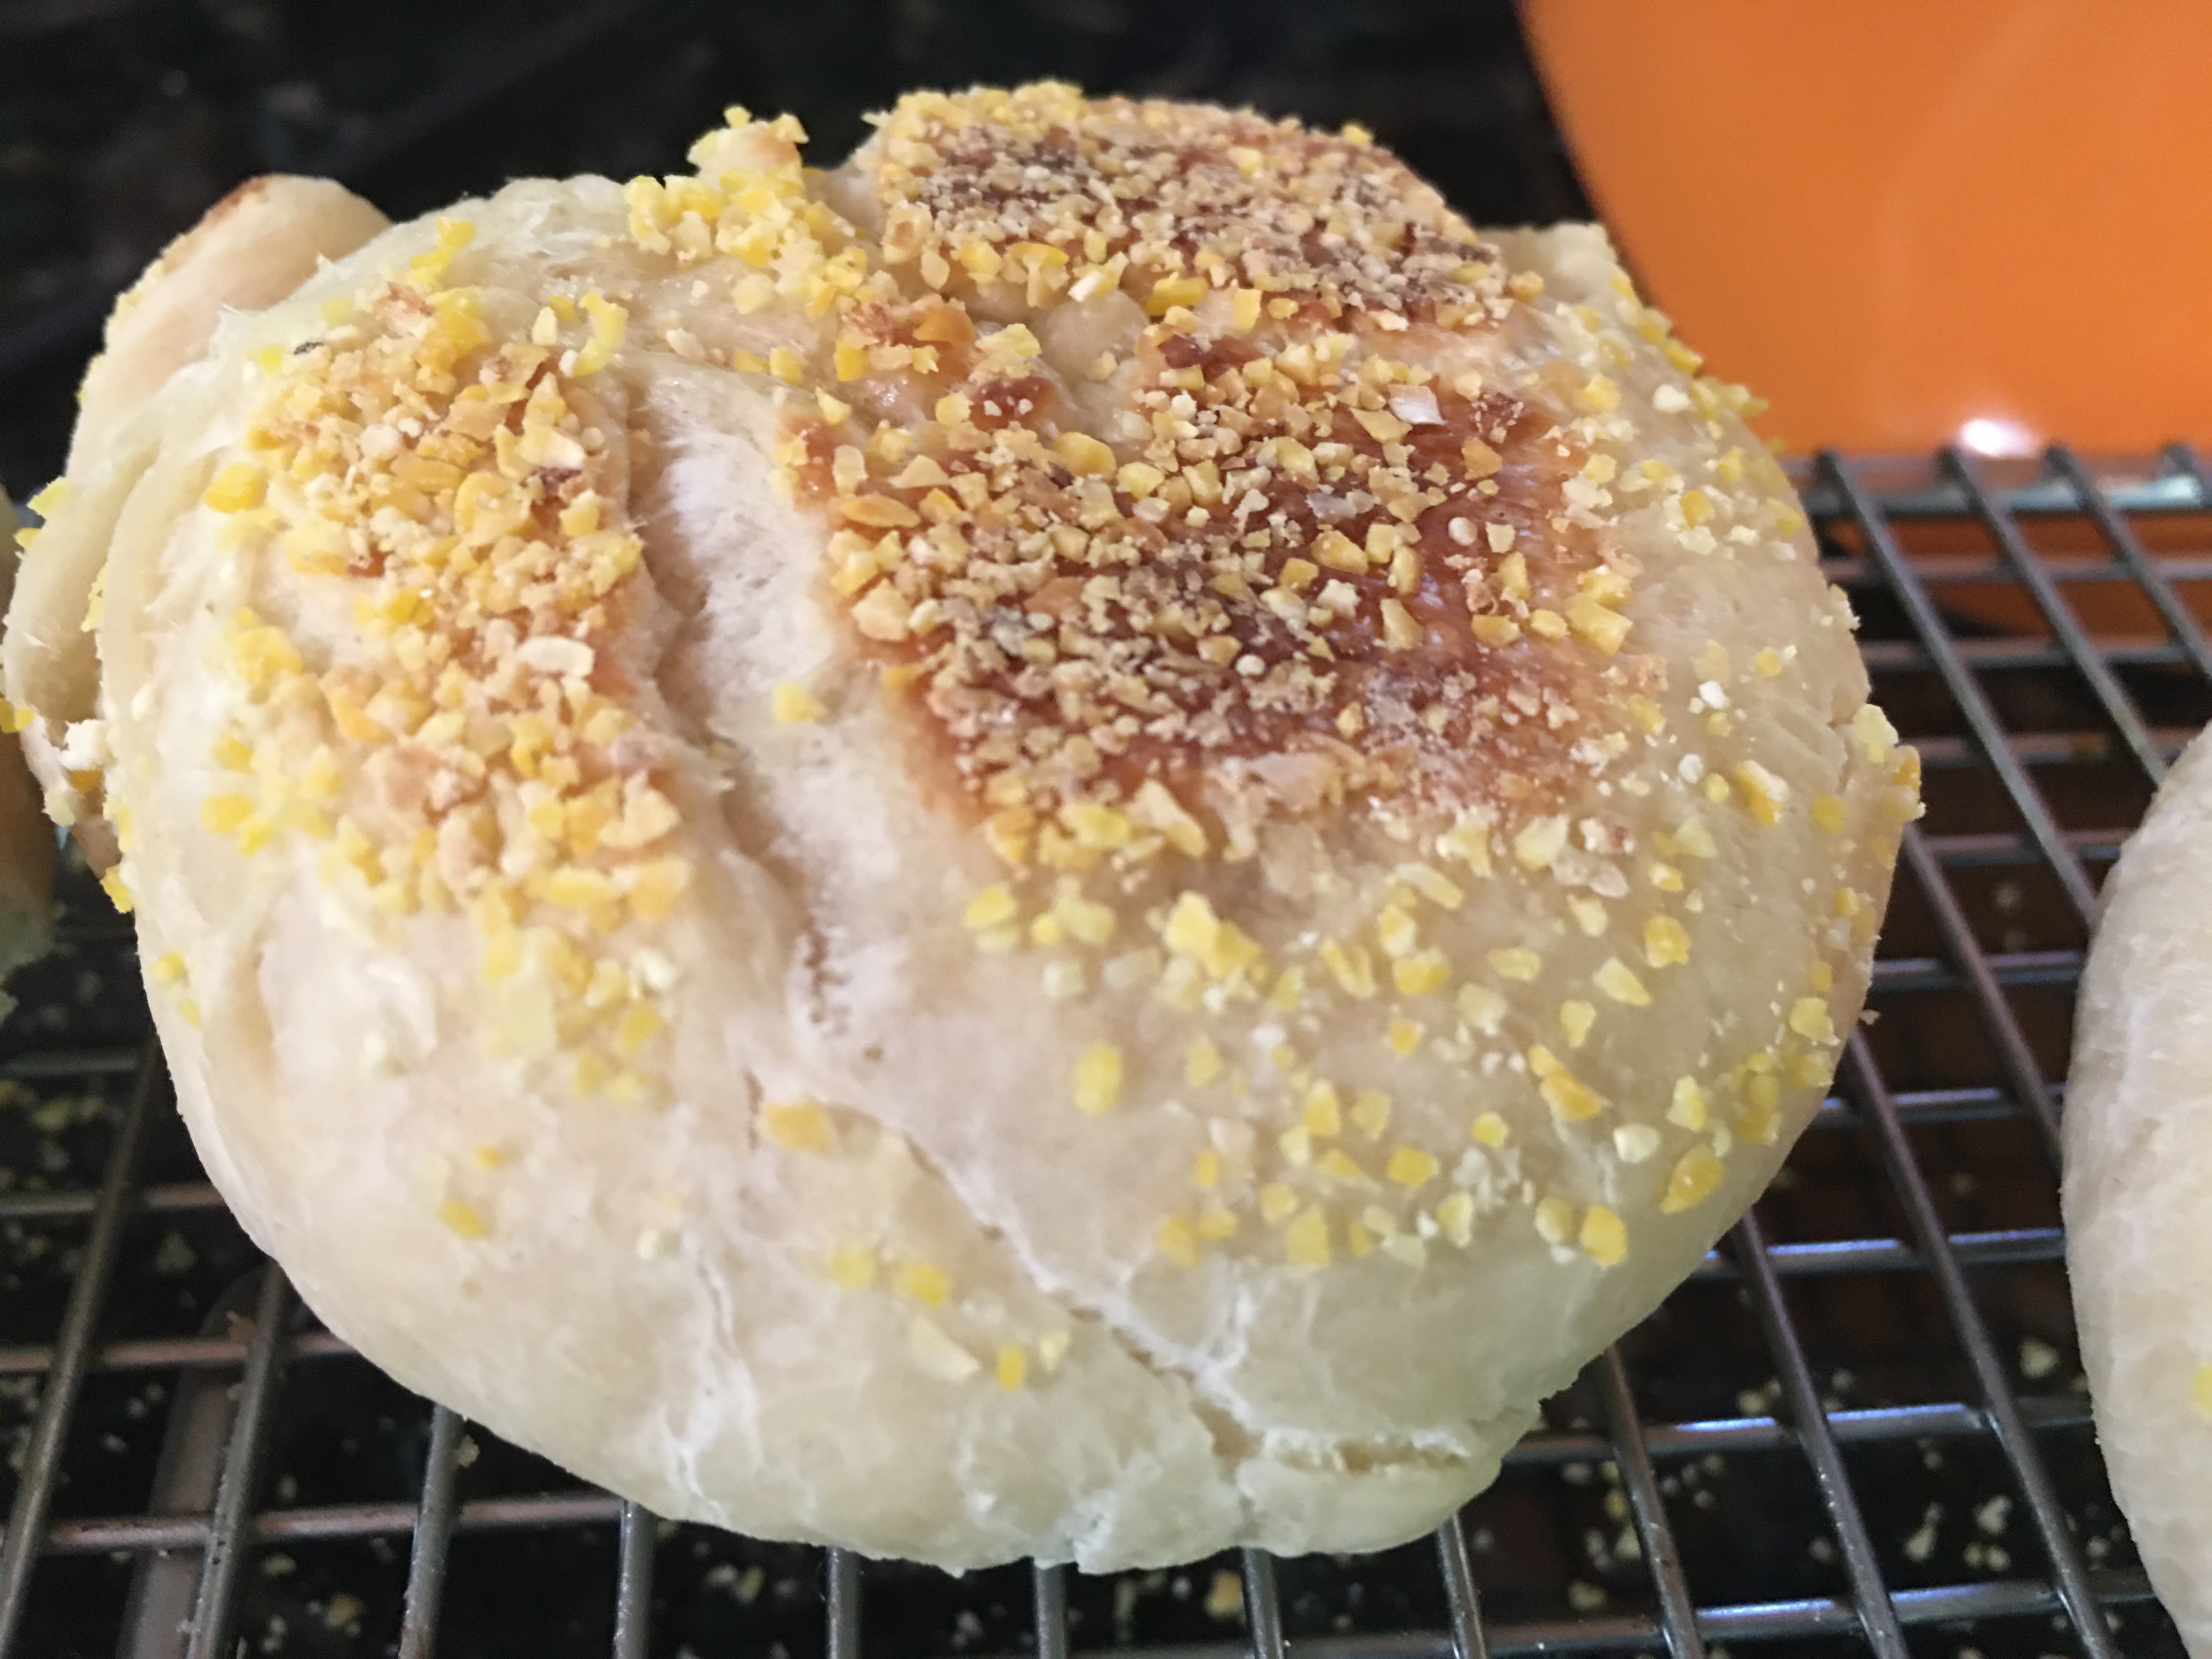
3. Line your largest rimmed cookie sheet with cornmeal and let the dough balls rise into the cornmeal. I even recommend flipping to the other side before the final rise, because otherwise a skin forms on the dough which makes it hard for the cornmeal to adhere. I am generous with sprinkling cornmeal all over that cookie sheet because I re-use whatever doesn't stick on the muffin itself.
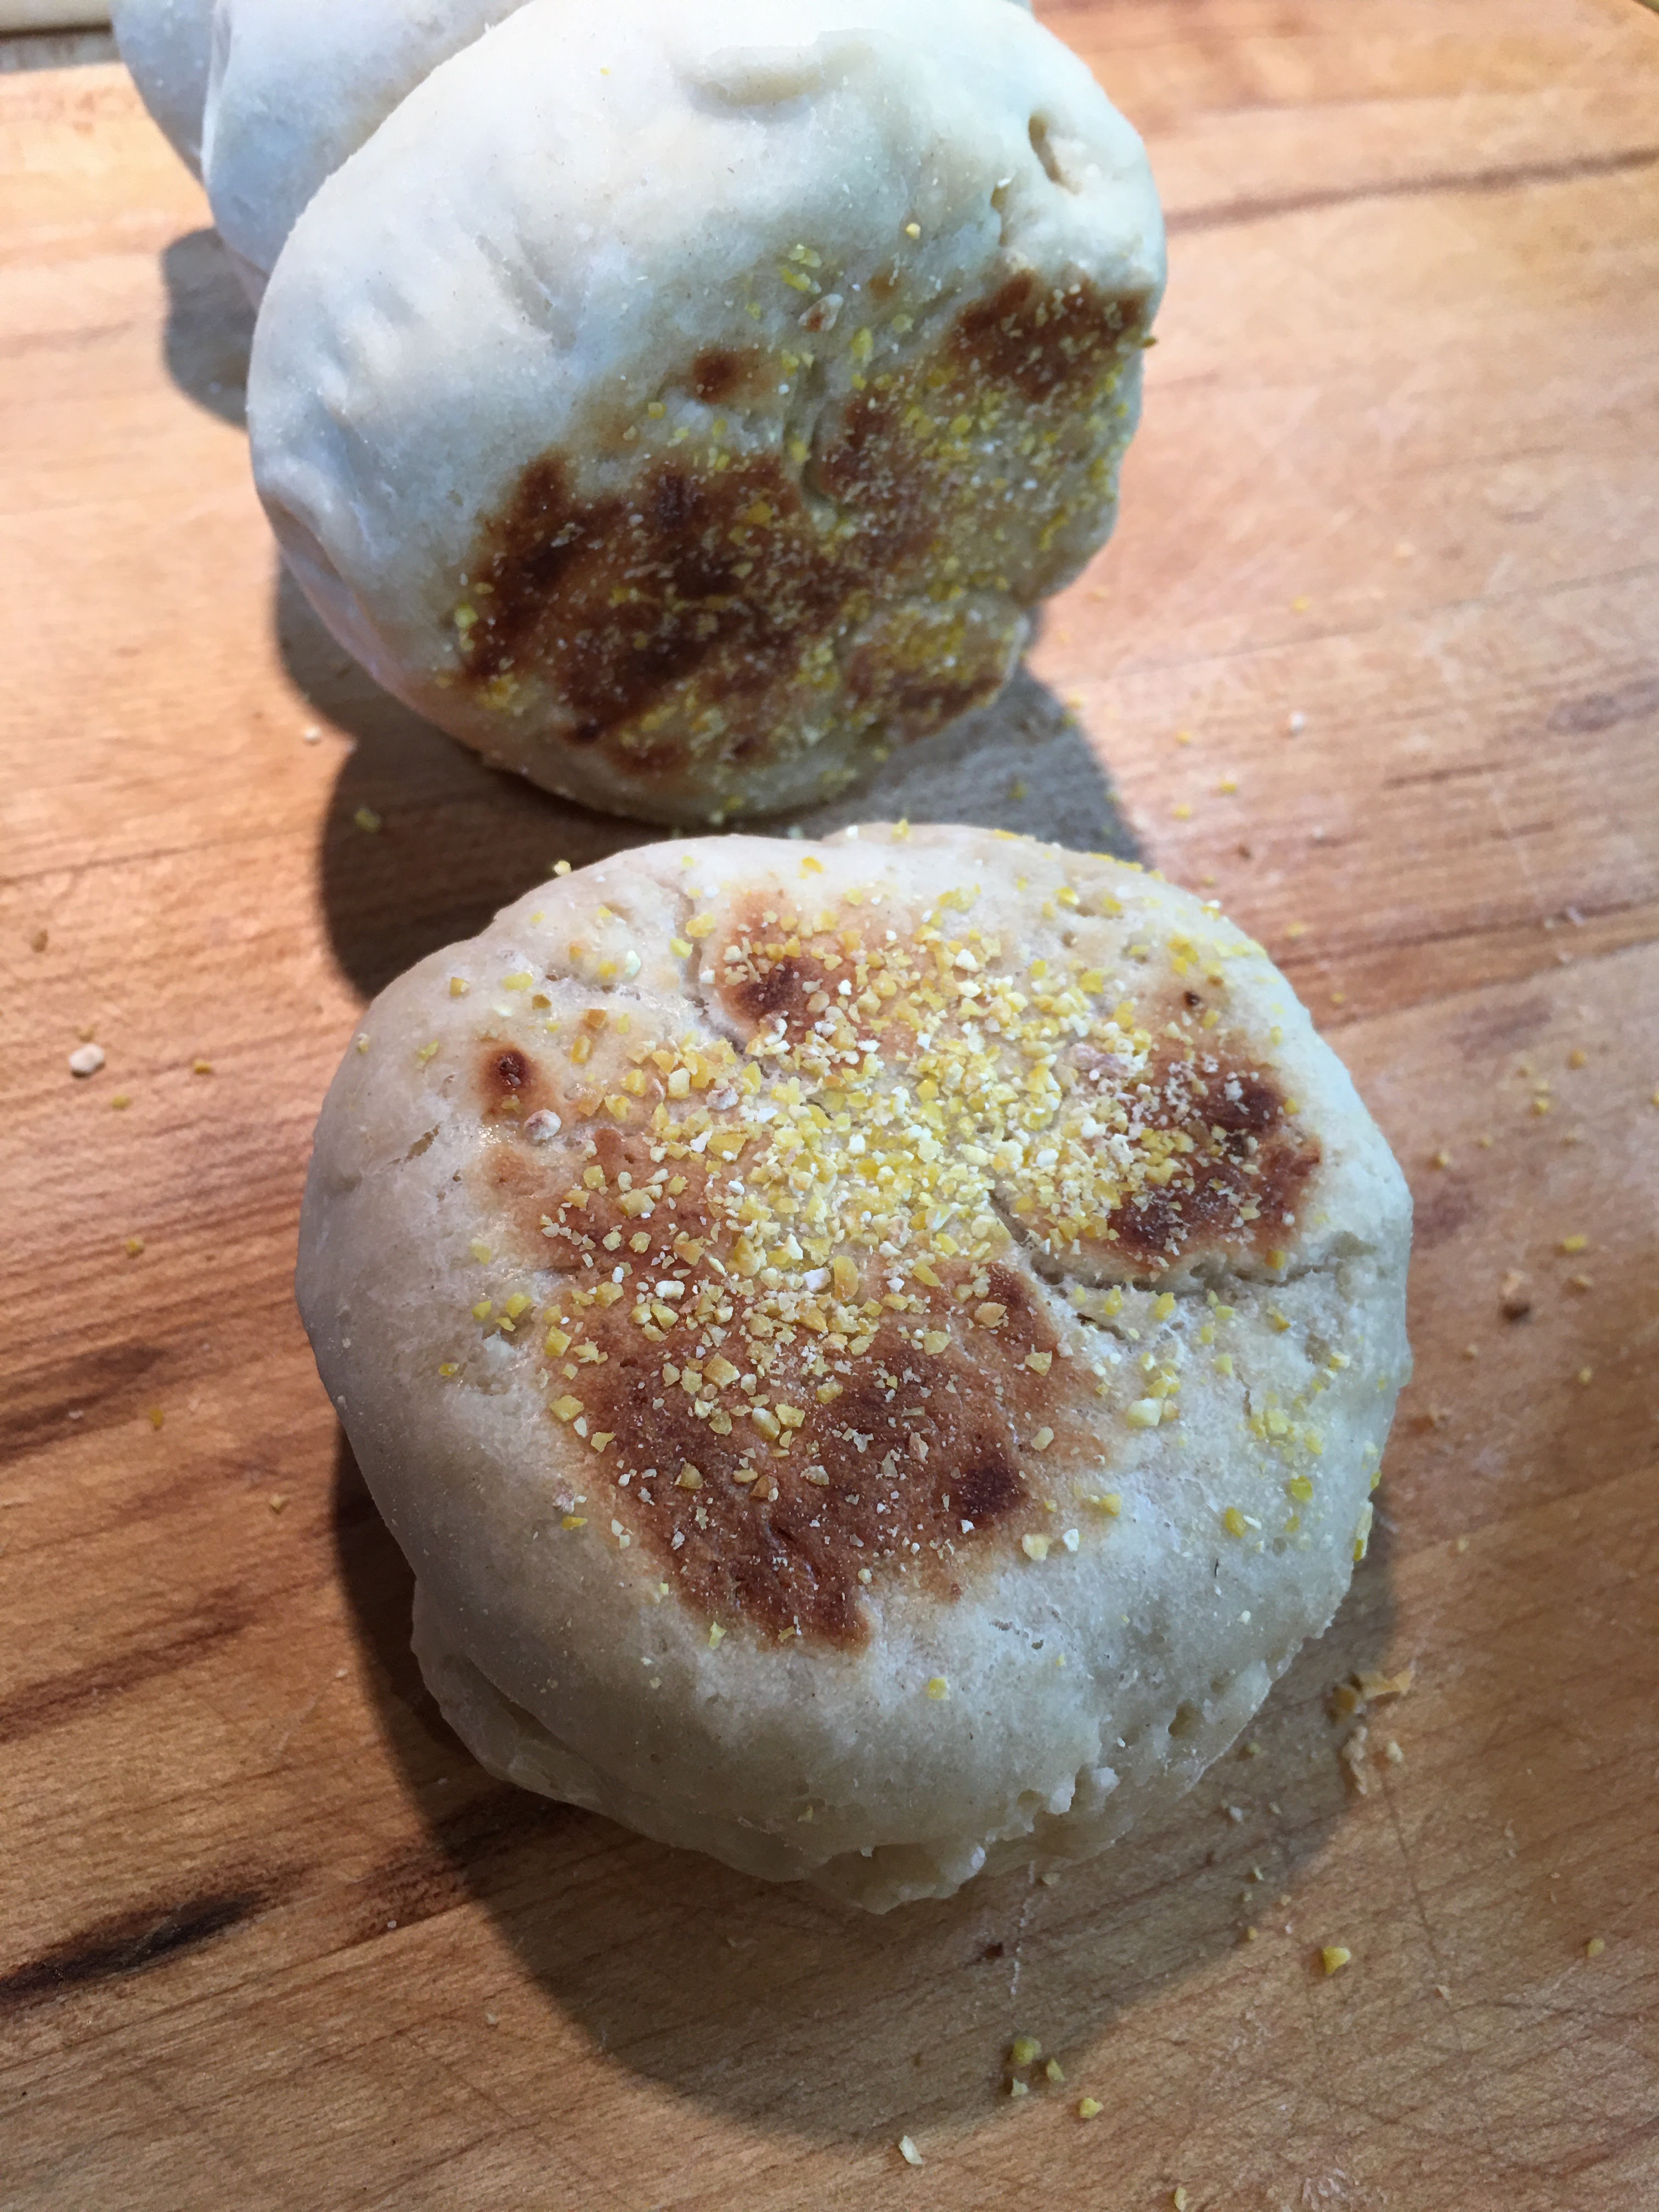
4. Finish the muffins off in the oven! My first several batches were not fully baked. And it is definitely hard to tell when they're done-done. But with the recipes below, I cook according to the original instructions and then pop them into a 350 degree oven for 4 minutes.

5. You can double check for doneness by doing a light squeeze of the side of one muffin. If your fingers leave a dent, then the muffins are not done.
Results and Tasting Notes
 The Kitchn **WINNER**
I was surprised that this recipe came out on top But, it is consistent (especially now that I've modified my technique). It toasts nicely and definitely benefits by extending the ageing of the dough at every stage.

This is my personal favorite in terms of texture and aesthetics (I like the rough corners). But, they deform regularly, require rings, and as noted above, require me to stand on my feet longer than the others. Overall, this is the tastiest - but also the ugliest. Also, the original instructions include a confusing focus on listening to the sound of the dough. Clearly he is a much much much better baker than me, but my dough never bubbled or made sounds for me, so the aurla experience didn't work as a clue for when to move to the next stage. (Solid demerit for writing that we should "whisk" the milk into the flour, salt and yeast - obviously, adding the liquid just instantly made the whole thing thick and was more effectively incorporated with a spatula.)

These were irregular in shape and simply bland.

This yields a very nice, supersoft and responsive dough. Very pleasing to work with. But, it never toasted up. Also, the muffins spread out and not up; instructions would benefit from recommending use of rings.

I am disappointed to write this because this book is full of winners. But, these muffins were unremarkable. Also, the instructions are confusing -- how to transfer the filled rings to the skillet? Are we to preheat the rings on the skillet? When is the second rise? I might consider trying these again if I could find clarifying instructions elsewhere.
This yielded a nice, reactive dough. But the end result was just a roll. The original recipe has you cook on the skillet only 2 minutes per side -- far too brief for a muffin. The bulk of the baking is in the oven -- like a roll. I am grateful for the tip for the interior temperature of a cooked roll, though.
Mark Bittman's How to Cook Everything
This one came highly recommended to me by a friend who bakes better than I do, so perhaps the error is mine, or, the humidity was a factor. But this was our literal least favorite. These did not puff up and came out very flat.
Ingredients
As mentioned above, there is a wide variety in the way people assemble their English muffin recipes. To explore the variations in ingredients, please reference this chart for the recipes included in the Taste Test.
| Kitchn | Reinhart | Serious | Bigger | KAF | Introvert | Bittman | |
| Type Flour | Bread | Bread | Bread + WW | AP | AP | Bread | AP |
| Amt Flour | 4 c | 2 2/3 c | 3 c | 2 1/2 c | 3 1/4 c | 5 c | 3 1/2 c |
| Yeast | 1 1/2 tsp | 2 tsp | 1 1/4 tsp | 1/4 tsp | 1 1/8 tsp | 2 1/4 tsp | 1 1/2 tsp |
| Salt | 1 tsp | 3/4 tsp | 1 1/4 tsp | 1/4 tsp | 1 tsp | 1 1/2 tsp | 2 tsp |
| Water | 1/2 c | 3 T | 0 | 1/2 c | 3/4 c | 0 | 0 |
| Milk | 1 c | 1 1/2 c | 1 1/2 c | 2/3 c | 2 T | 2 c | 1 1/3 c |
| Butter | 2 T | 2 tsp | 0 | 1 T | 2 T | 4 T | 2 tsp |
| Sweetener | 2 T | 1/4 c | 2 T | 3 T | 1 T | ||
| Other | 1/4 tsp soda | 1 egg white | 2 tsp powder | 1 egg | |||
| Other | 1 T oil | 2 T cornstarch |
The Winning Recipe
English Muffins
The Kitchn
Starter:
3/4 c bread flour
1/2 c water
1/2 tsp yeast
Dough:
1 c milk
1 tsp yeast
2 T sugar
2 T unsalted butter, melted
1 tsp salt
3 - 3 1/4 c bread flour
Day One
Make starter by combining flour, water and yeast. Beat by hand or by machine for about 100 strokes. Let starter sit 1-12 hours.
Day Two
Day Two
Pour starter into bowl of a mixer. Add in milk and yeast and break up with a spatula to combine. Add sugar, butter and salt and combine. Add 3 c flour and mix until a shaggy dough forms. Knead with dough hook for 5-8 minutes, until it comes together as a smooth ball. If dough is sticky, add more flour. Transfer dough to a covered bowl and place in fridge overnight or for up to 3 days.
Day Five
Day Five
Turn dough out and divide into 12 pieces. Roll into smooth, round balls. Prep a lined cookie sheet with cornmeal and place balls on cornmeal. Flip to get other side coated in cornmeal. Cover loosely and let rise 1 1/2 - 2 hours. Preheat cooking surface. Transfer each muffin to the hot surface and cook 7 minutes per side. After cooking second side, move cooked muffin to a clean cookie sheet. When all have been cooked on the skillet, pop tray of muffins into a 350 oven for 4 minutes.
The Very Close Runner-Up
English Muffins
Peter Reinhart - Artisan Breads Every Day
2 tsp honey
1 T oil
1 1/2 c milk, lukewarm
2 2/3 c bread flour
3/4 tsp table salt
2 tsp yeast
3/4 tsp baking soda
3 T warm water
Day One:
Combine milk, honey, and oil. Stir to dissolve honey. In separate bowl, combine flour, salt, and yeast. Pour into the milk mixture and stir to combine. Cover and refrigerate up to 4 days.
Day Five:
When ready to bake, dissolve baking soda into warm water and stir into dough. Let dough rest 5-10 minutes as skillet preheats. Prepare muffin rings by spraying with Pam and dusting in cornmeal. Place rings onto hot skillet. Sprinkle cornmeal into the rings, directly onto the surface of the skillet. Scoop enough dough to just cover the bottom surface of the ring - this dough is very reactive and the dough will grow up and out. (He recommends filling the ring 2/3 full but that is WAY too much dough.) Sprinkle more cornmeal onto top surface of muffin. Cook 12 minutes on each side. When both sides have cooked, remove muffin to a clean cookie sheet. Pop muffins out of rings. When all muffins are on the cookie sheet, pop into a 350 oven for 4 minutes.
Comments